Why Choose Homemade Lotion?
Crafting your own lotion at home goes beyond simple DIY projects—it’s a strategic decision for your skin’s health and overall well-being. Commercial lotions frequently harbor a complex blend of synthetic chemicals that your skin readily absorbs. By formulating your own blend with just three carefully chosen ingredients, you gain full control over what touches—and ultimately penetrates—your body.
One of the strongest reasons to make your own lotion is avoiding the potentially harmful ingredients lurking in store-bought alternatives, which can cause issues from skin irritation to hormonal disruption. These include:
-
Parabens
-
Synthetic fragrances
-
Diethyl phthalate
-
Propylene glycol
Customization offers another significant benefit of DIY lotion creation. Struggling with particularly parched skin? Adjust the ratio of moisturizing components as needed. Sensitive to certain fragrances? Craft your lotion completely scent-free or incorporate only those essential oils that harmonize with your unique body chemistry. This level of customization simply isn’t possible with mass-produced alternatives.
For individuals with sensitive skin or specific allergies, homemade lotion provides important peace of mind. When you personally blend each ingredient, there’s zero mystery surrounding your moisturizer’s contents. This clarity is particularly valuable if you’ve endured reactions to commercial products previously.
Choosing the Right Carrier Oil
As the second crucial component, your carrier oil selection works with shea butter to deliver essential nutrients while determining your lotion’s ultimate texture, absorption characteristics, and therapeutic benefits.
Jojoba oil makes an excellent choice due to its molecular structure, which remarkably mimics your skin’s natural sebum. This allows it to regulate oil production across both dry and oily skin types, absorbing rapidly with a feather-light, non-greasy sensation. Rich in natural vitamin E, it simultaneously provides antioxidant protection and extends your lotion’s shelf life.
Sweet almond oil offers another excellent option, particularly suited for normal to dry skin types. Rich in vitamin E, zinc, and essential fatty acids, this gentle, hypoallergenic oil delivers nourishment without heaviness. It’s remarkably mild enough for sensitive conditions like eczema.
Understanding Shea Butter
Shea butter forms the cornerstone of our three-ingredient lotion, providing remarkable skin benefits that many commercial products try to replicate with synthetic ingredients. This natural marvel, extracted from African Shea tree nuts, has been revered in skincare for centuries—and for good reason.
Rich in vitamins A and E, essential fatty acids, and natural emollients, shea butter provides profound hydration that penetrates well beyond your skin’s surface. Unlike petroleum-based moisturizers that merely create a superficial barrier, shea butter actively repairs and fortifies your skin’s natural protective layer. This healing property is especially valuable for those enduring harsh climates or battling seasonal dryness.
The anti-inflammatory and antioxidant properties of shea butter go well beyond basic miniaturization. These properties help calm irritation, diminish redness, and accelerate healing processes—making it an ideal ingredient for sensitive, damaged, or mature skin types.
Most importantly, shea butter achieves all this while remaining non-comedogenic for the vast majority of users. This means it delivers intensive moisture without clogging pores—a rare combination that makes it suitable for virtually every skin type. When you incorporate shea butter as your homemade lotion’s primary ingredient, you’re doing more than just moisturizing—you’re giving your skin complete nourishment that addresses several concerns at once.
Step-by-Step Guide to Making Lotion
Crafting your own three-ingredient lotion is surprisingly simple once you grasp the fundamental process. This simple approach lets you create a personalized moisturizer perfectly tailored to your skin’s distinctive needs—no specialized equipment or complex techniques required.
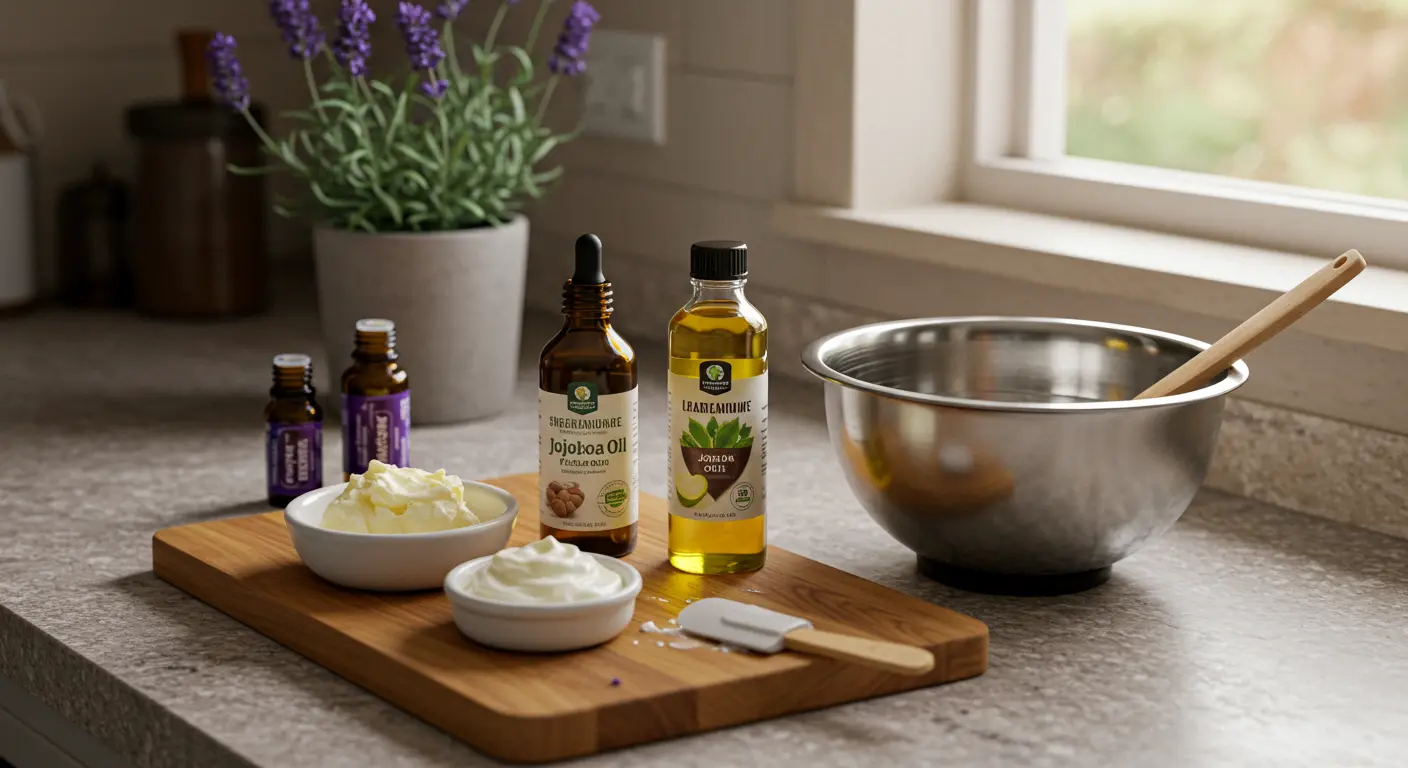
Begin by gathering your ingredients and equipment.
Ingredients:
-
1/2 cup shea butter
-
1/4 cup carrier oil (e.g., jojoba or sweet almond)
-
1/4 cup distilled water
Equipment: -
Double boiler (or a heat-safe bowl and pot)
-
Hand mixer or immersion blender
-
Clean storage container
Begin the process by gently melting your shea butter using a double boiler setup—position the butter in a heat-resistant bowl over a pot of barely simmering water. This gentle heating method prevents scorching, which could compromise the butter’s beneficial properties. Once completely liquefied, remove from heat and allow cooling for approximately 2–3 minutes.
Next, incorporate your chosen carrier oil into the melted shea butter, stirring gently until well combined. This blend creates your lotion’s oil phase. Allow this unified mixture to cool until it begins solidifying slightly around the edges while remaining liquid at the center—typically requiring 10–15 minutes at room temperature.
The emulsification step is essential for achieving proper lotion texture. With your hand mixer or immersion blender at the ready, begin whipping the oil mixture while very gradually drizzling in the distilled water. This slow, methodical addition while continuously mixing creates the stable emulsion that gives lotion its signature creamy consistency.
For the finishing touch, transfer your freshly crafted lotion to the refrigerator for 15–20 minutes. This cooling period helps set the emulsion and achieve that perfect, luxurious texture. Once properly chilled, transfer to your clean storage container. Your homemade lotion is now ready to provide deep miniaturization through just three simple, natural ingredients you’ve thoughtfully selected for your skin’s unique requirements.
Emulsification Process Explained
Emulsification represents the critical chemical process that transforms your separate ingredients into a unified, cohesive lotion. At its essence, emulsification solves a basic challenge in lotion-making: successfully combining water and oil—two substances that naturally don’t mix. Without proper emulsification, your lotion would rapidly separate into distinct, unusable layers.
The science underlying successful emulsification involves creating microscopic oil droplets that stay suspended within the water phase. This transformation occurs when you slowly introduce your water component to the oil mixture while simultaneously applying consistent, vigorous mixing. The mechanical action of your mixer breaks the oil into tiny particles that become evenly distributed throughout the water, creating that smooth, luxurious texture that defines quality lotions.
Timing and technique are essential during this delicate phase. Adding water too hastily or mixing inadequately can cause the emulsion to ‘break’—you’ll know this has happened if your mixture appears curdled or separates into distinct oily and watery layers. For optimal results, drizzle the water in a thin, steady stream while maintaining continuous high-speed mixing.
Temperature also plays an important role in emulsification success. Your oil mixture should be cooled to the precise point where it’s beginning to thicken slightly yet remains pourable—typically around comfortable body temperature. This semi-cooled state makes emulsion formation much easier than when oils are either scorching hot or completely solidified. The entire process creates an intricate network of oil droplets suspended in water, giving your homemade lotion that smooth, spreadable consistency that absorbs beautifully into skin.
Adding Essential Oils for Scent and Benefits
Once you’ve successfully created your emulsified lotion base, you can enhance both its sensory appeal and therapeutic properties by adding essential oils. These potent plant extracts not only offer beautiful natural scents but also deliver various skin benefits depending on your careful selections.
For a standard 8-ounce batch of homemade lotion, the ideal amount is usually between 10–15 drops of essential oil. This concentration delivers sufficient fragrance without overwhelming sensitive noses or potentially irritating delicate skin. When adding essential oils, wait until your lotion has cooled to room temperature but hasn’t completely set—this protects the delicate aromatic compounds while ensuring thorough distribution throughout your creation.
Consider these popular essential oils based on your needs:
-
For All Skin Types: Lavender (calming, balancing)
-
For General Use: Peppermint (cooling), bergamot (uplifting), lemon (toning), rosemary (purifying)
-
For Dry or Mature Skin: Frankincense or geranium (promote cell regeneration)
-
For Sensitive Skin: Chamomile or sandalwood (soothing)
You can also craft custom blends by combining complementary scents—try lavender with vanilla for a calming effect, or energizing citrus oils with invigorating mint. When experimenting with combinations, start conservatively with fewer drops than you anticipate needing. You can always add more, but you can’t remove excess once it’s mixed in.
For individuals with extremely sensitive skin or fragrance sensitivities, essential oils remain entirely optional. Your three-ingredient lotion will still deliver exceptional moisturizing benefits without added scents. If you do choose to include essential oils, always perform a patch test before broad application—especially when trying a new oil for the first time.
Storage and Shelf Life of Homemade Lotion
Proper storage is essential for preserving both the quality and longevity of your natural lotion. The following table outlines your options:
| Storage Method | Shelf Life | Key Considerations |
|——————-|———————-|————————————————————–|
| Room Temperature | 2 weeks – 6 months | Keep in a cool, dark place. Shorter life without preservatives. |
| Refrigerator | Up to 3 months | Slows bacterial growth. Lotion may firm up when cold. |
Your container choice significantly impacts shelf life. Opt for dark-colored glass jars with tight-fitting lids to shield your lotion from damaging light exposure and air contamination. Always use impeccably clean, dry hands or a cosmetic spatula when scooping product to prevent introducing harmful bacteria. If you notice any changes in color, texture, or smell—or if mold appears—immediately discard the lotion and create a fresh batch.
Remember that heat stands as your homemade lotion’s greatest enemy. Avoid storing it near heat sources like radiators or in steamy bathrooms, as excessive heat can cause emulsion breakdown or oil rancidity. For those residing in particularly warm climates, refrigeration might become your default storage method regardless of season.
Common Mistakes to Avoid When Making Lotion
Creating your own three-ingredient lotion can be very rewarding, yet certain pitfalls can ruin your final product. Recognizing these common mistakes will help you consistently achieve smooth, effective, and safe homemade lotion results.
-
Inaccurate Measurements: Lotion-making requires precision. Use measuring spoons or a scale, as incorrect ratios of oil to butter can create a greasy or stiff product.
-
Rushing Emulsification: Oil and water separate easily. Add water slowly while mixing vigorously and continuously to create a stable, creamy lotion.
-
Neglecting Sanitization: To prevent bacterial growth and spoilage, sanitize all containers and utensils with rubbing alcohol or by boiling them before you begin.
-
Improper Temperature Management: Overheating shea butter (above 175°F or 80°C) can destroy its beneficial properties. Use a gentle double boiler method for melting.
-
Overusing Additives: Master the basic recipe first. Adding too many essential oils or extracts at once can destabilize the lotion or cause skin reactions. Always patch test new formulas.