Introduction to Upcycled Bird Feeders
Upcycled bird feeders represent a brilliant fusion of environmental stewardship and wildlife care. These creative projects breathe new life into everyday household items—giving them new purpose instead of throwing them away—while establishing vital feeding stations that nourish local bird communities and champion waste reduction.
This hobby is wonderfully accessible to everyone. No expensive materials or specialized tools required. Since most projects utilize items already scattered throughout your home, anyone can get started regardless of experience.
Beyond their environmental merits, crafting these feeders offers a rewarding way to connect with nature. For families, it becomes an enriching shared experience that introduces children to sustainability principles while fostering appreciation for local biodiversity.
This guide explores various designs, from simple plastic bottle feeders to more elaborate wooden ones, to help you attract feathered visitors year-round.
Materials Needed for Your Upcycled Bird Feeder
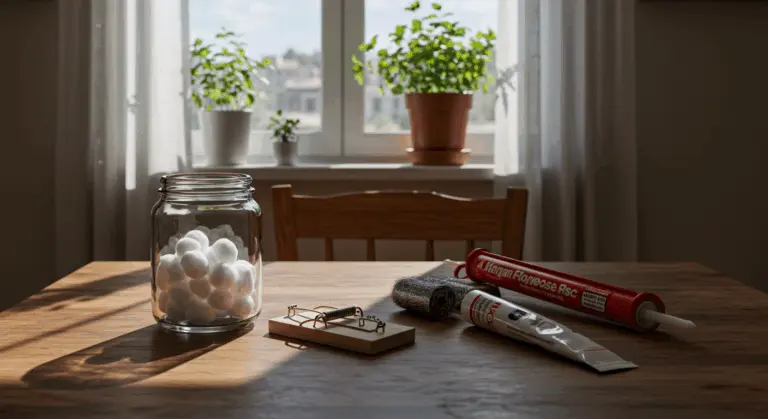
Before you start, assemble your materials. The best part about upcycling is using things you already have around the house. While supplies vary by project, here are some common items you may need:
-
For a wooden feeder: Collect scrap wood, an aluminum screen for drainage, and old wooden items like picture frames, crates, or cutting boards.
-
For a plastic bottle feeder: You’ll need a clean 1-liter bottle, wooden spoons or dowels for perches, and string for hanging.
-
For a milk carton feeder: A rinsed and dried cardboard milk or juice carton is all you need to start.
Additional supplies that come in handy for most upcycled bird feeder projects include:
-
Weather-resistant paint or sealant (non-toxic and safe for birds)
-
Paintbrushes for decoration
-
Screws, nails, or strong glue for assembly
-
Twine, wire, or sturdy string for hanging
-
Measuring tape or ruler
-
Pencil for marking cutting lines
-
Sandpaper for smoothing rough edges
-
Bird seed appropriate for local species
The tools required are generally simple household items:
-
Scissors
-
A screwdriver
-
Pliers
-
A saw (for wooden projects)
If you’re involving children, ensure adult supervision for any steps involving cutting tools or drills.
Remember, upcycling thrives on creative reuse, so don’t feel constrained by this list. Take a fresh look around your home—that chipped teacup, forgotten tin can, or abandoned cookie tin might become the perfect foundation for a distinctive bird feeder that adds personality to your garden while helping local wildlife.
Step-by-Step Instructions to Create Your Bird Feeder
Now that you’ve assembled your materials, let’s turn them into functional bird feeders. The following detailed instructions will guide you through creating various types of upcycled feeders that are both practical and appealing to birds.
Each project follows a logical progression: basic construction first, then decoration and installation. Select the design that best matches your available materials and the bird species you hope to attract.
Basic Milk or Juice Carton Feeder
Plastic Bottle Bird Feeder
Decorating Your Bird Feeder
Hanging Your Feeder
Creating a Plastic Bottle Bird Feeder
Plastic bottles work great for bird feeders—they’re naturally waterproof, quite durable, and adaptable for various bird species. Here’s how to craft two distinct plastic bottle feeders:
For Seed-Eating Birds:
-
Start with a clean 1-liter soda or water bottle with the label removed.
-
Using a sharp tool (like a heated screwdriver or drill), create two small holes directly opposite each other about 2–3 inches from the bottom of the bottle.
-
Insert a wooden spoon, chopstick, or wooden dowel through these holes to create a perch that extends about 2 inches on each side.
-
Approximately 1 inch above each perch, cut feeding holes about the size of a quarter. These should be large enough for birds to access seeds but small enough to prevent excessive spillage.
-
For multiple feeding stations, repeat steps 2-4 at different heights around the bottle, staggering the positions.
-
Fill the bottle with bird seed using a funnel, leaving some space at the top.
-
Secure the cap tightly to keep the seed dry.
For Hummingbirds:
-
Clean a 1-liter plastic bottle and a small plastic takeout container.
-
Drill or cut small feeding holes (about 1/4 inch in diameter) near the bottom of the bottle.
-
Fill the bottle with homemade hummingbird nectar (mix 1 part white sugar with 4 parts water, boil briefly, and cool completely).
-
To attract hummingbirds, decorate the area around the feeding holes with red, non-toxic materials, as hummingbirds are drawn to this color.
-
Ensure the feeding holes are small enough that the nectar doesn’t leak but allows hummingbirds to insert their long beaks.
Hanging Your Plastic Bottle Feeder:
-
Create a hanging mechanism by drilling two small holes near the top of the bottle, opposite each other.
-
Thread fishing line, wire, or strong string through these holes and secure tightly.
-
Hang your feeder from a tree branch, shepherd’s hook, or porch overhang where you can easily observe visiting birds.
-
Place the feeder at least 5–6 feet off the ground to protect birds from predators.
To help your feeder last longer outdoors, consider applying a clear, non-toxic waterproof sealant over your decorated plastic bottle feeder. This helps protect the paint and decorations from rain and makes your feeder last longer.
Using Milk Cartons for Bird Feeders
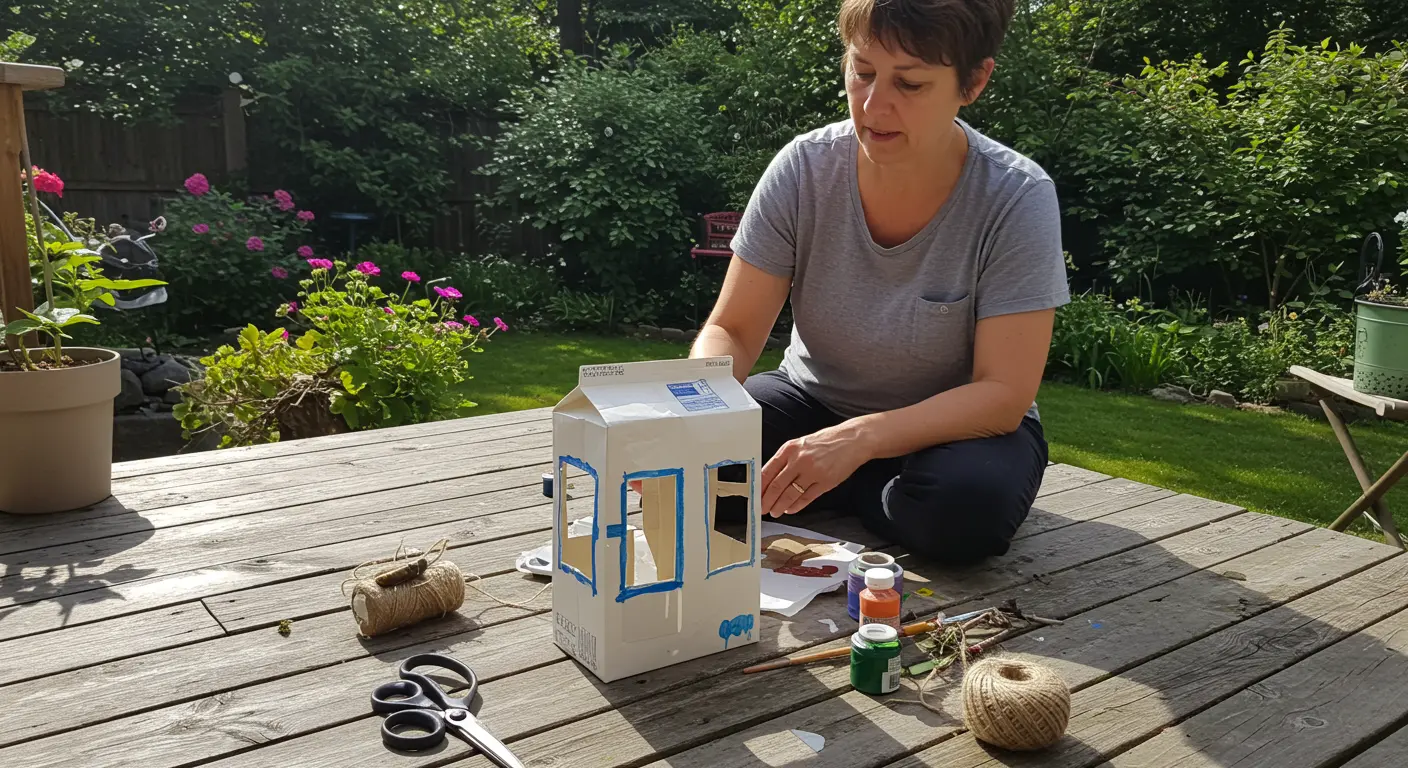
Milk cartons make excellent upcycled bird feeders for functional bird feeders. Their built-in waterproof coating and robust construction make them perfect for outdoor conditions. Follow this straightforward guide to transform your empty milk carton into an inviting bird feeding station:
-
Preparation: Thoroughly wash the milk carton with warm, soapy water and rinse well to remove any milk residue. Allow it to dry completely before proceeding.
-
Create feeding access: Using scissors or a craft knife, cut a large rectangular or oval opening on one or more sides of the carton. Cut the openings about 2–3 inches from the bottom, leaving a reservoir for the seed.
-
Add perches: Birds need somewhere to land while feeding. Create perches by poking holes directly below each feeding opening and inserting a small twig, wooden dowel, or even a pencil through these holes. Ensure the perch extends about 1–2 inches on each side.
-
Weatherproof and decorate: Apply acrylic paint to the exterior of your carton. This not only makes your feeder more attractive but also helps protect it from the elements. Consider using bright colors to attract birds or natural tones to blend with your garden.
-
Create drainage: Poke a few small holes in the bottom corners to allow rainwater to drain out, preventing seed from becoming waterlogged.
-
Prepare for hanging: Punch two holes at the top of the carton, opposite each other. Thread string, twine, or fishing line through these holes and tie securely to create a hanging loop.
-
Fill and hang: Pour bird seed into the carton through the top (for open-top cartons) or through one of the feeding holes. Hang your completed feeder from a tree branch or hook in a location visible from your window but safe from predators.
Typically, a milk carton feeder will last about 2–3 months, making it an eco-conscious, temporary solution. For a longer-lasting feeder, Apply a non-toxic waterproof sealant over the painted surface.
Tips for Maintaining Your Upcycled Bird Feeder
Once your beautiful upcycled bird feeder is complete, proper maintenance is important to keep it working well and visitor health. Here are key maintenance tips to follow:
-
Regular Cleaning: Wash your feeder every 2–3 days with a mild solution (one part vinegar to nine parts water) to prevent mold and bacteria. Ensure it is completely dry before refilling.
-
Inspect for Damage: Regularly check for wear and tear like cracks or splinters. Repair or replace damaged parts to prevent injuries to birds.
-
Seasonal Adjustments: Offer less food in spring and summer when natural sources are plentiful, and more in fall and winter to help birds maintain energy.
-
Pest Management: Use baffles to deter squirrels and clean the feeder frequently to manage insects.
-
Weather Protection: Position the feeder in a sheltered location. For less durable materials like cartons, consider adding a small roof.
-
Food Freshness: Discard wet or moldy seed immediately. Store seed in a cool, dry, airtight container and never top up old seed with fresh.
-
Replacement Schedule: Plan to replace feeders made from materials like plastic bottles or milk cartons every 2–3 months, or sooner if they show significant weathering.
Following these maintenance guidelines keeps birds safe and healthy while making your homemade feeder last as long as possible.
Creative Ideas for Customizing Your Bird Feeder
After mastering basic construction, you can get creative with personalized decorations and customizations. These decorative touches not only look nice but can also attract more birds to your yard.
-
Miniature Buildings: Paint your feeder to look like a tiny cottage or barn, adding details like windows and doors. This works especially well on milk cartons or wooden feeders.
-
Seasonal Themes: Decorate your feeder for holidays or seasons, such as with autumn leaves or spring flowers. Always use non-toxic, waterproof paint.
-
Natural Embellishments: Glue on natural materials like twigs, moss, or pine cones for a rustic look that blends into your garden.
-
Recycled Mosaics: Create patterns with broken CDs, colorful plastic, or dyed eggshells. Seal the design with a clear, non-toxic sealant.
-
Functional Features: Add multiple feeding ports, separate seed compartments, or small, securely attached mirrors to attract different species.
-
Color Psychology: Use colors that attract specific birds. For example, hummingbirds are drawn to red, and goldfinches to yellow.
-
Personal Touches: For a family project, add children’s handprints using non-toxic paint and seal with a weather-resistant varnish.
-
Unique Hangers: Instead of plain string, use decorative chains, colorful rope, or repurposed jewelry for hanging.
Be creative, but always put bird safety first. Avoid small, loose decorations that birds might ingest, sharp edges that could cause injury, or toxic materials that could harm your feathered guests. Keep these safety points in mind as you create a unique feeder that both you and the birds will enjoy.
The Ecological Impact of Upcycled Bird Feeders
Creating upcycled bird feeders goes beyond just making something fun—it actually helps the environment in several important ways.
By repurposing items destined for landfills, you actively participate in waste reduction. Each rescued bottle or carton gets a useful second life.
Beyond waste reduction, these feeders provide important food sources to local bird populations. Wild birds face growing difficulties finding natural food sources due to habitat destruction, climate shifts, and expanding urbanization.
These feeders also help support biodiversity within your immediate environment. A thoughtfully maintained feeding station can attract diverse bird species, depending on your location and feed varieties offered.
Upcycled bird feeders also serve as great learning tools. For families with children, the entire process—creating, installing, and monitoring a bird feeder—provides hands-on exploration of wildlife biology, conservation principles, and environmental stewardship.
These projects can also weave community connections, as neighbors often exchange knowledge about local wildlife and sustainable practices.
Best of all, upcycled bird feeders make environmental action accessible to everyone. They offer a straightforward, positive action available to anyone, demonstrating that meaningful ecological impact can begin right in your own backyard.